With Garry back came the perfect opportunity for me to learn about an integral process to the Museum: digitization. Digitization is the process of converting information into a digital format. At the Museum we digitize our photos, newspapers, artifacts, and archives to make database entries easier to navigate. When database entries have a digital reproduction (i.e. an accompanying photograph) it is much easier to confirm we have found what we are looking for – see this blog post for an example!
We have also used digitization to make our collection more accessible to you! Our Photo Collection and Newspaper Collection have been made available online, and both are great examples of digitization. We received a grant from UBC to digitize our newspaper archives and they also host both the Coast News and the Peninsula Times on their website. This was done in two phases: Phase One handled newspapers dated approximately 1940-1980, and Phase Two covered 1980 onward.
What are the common ways to digitize physical items? We use two different methods here at the Museum, but there are definitely countless more technologically advanced ways to digitize items. As we are just a small Museum, we stick to the simplest ways of making our information accessible.
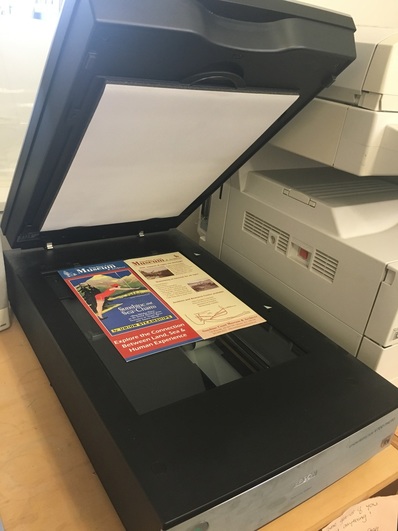
The first way is to scan the items. This can be done using a printer/scanner or a simple scanner. The model we use is the EPSON Perfection V700/V750 Photo. It was state of the art when we bought it, and honestly it still works great. The scanner allows us to digitize a high volume of objects in a fairly short amount of time. Letters, photos, and magazines make up the bulk of the items we digitize using the scanner. Usually we only scan the front page, but if there is something of interest on the back (i.e. informational text) we will also make sure to scan the back. For multiple-page documents we will scan the first and third page. Scanning is a valuable way of digitizing items because it is fast-paced and straight-forward.
The problem comes when we have to digitize an item that cannot fit in the scanner! Can you imagine trying to scan one of the six farming sickles we have in our collection?
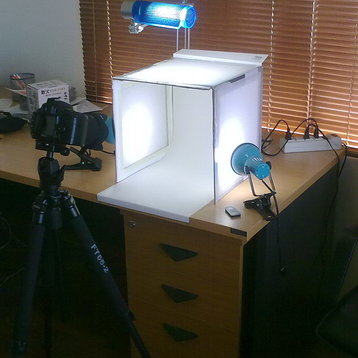
Instead of scanning items like this, we photograph them. A three-sided box is made of white, lightweight material (examples below) and the item is placed inside. The camera – a higher quality camera that will produce good, high resolution photos - is placed directly over-top the object, and the flash is angled towards the back wall. This way when the camera flashes it will bounce off the sides of the homemade box and onto the object, effectively preventing any shadows. After the photos have been taken they are uploaded to the computer and manually inputted to the database.
Just for fun I will link you to a few other institutions that have online collections. Each of these has a different way their information is presented, so have fun looking through!
http://www.uvic.ca/library/featured/collections/index.php
https://open.library.ubc.ca/
http://library.harvard.edu/digital-collections


 RSS Feed
